Mobility, flexibility and novel technologies in measurement are playing a significant role for most companies. High-tech polymer specialist, REHAU also recognized the need for advanced measurement technologies.

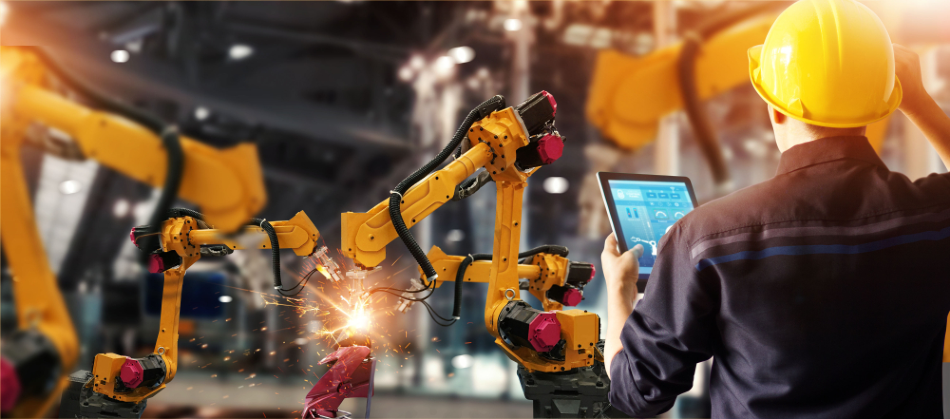
Image Credit: Shutterstock/PopTika
REHAU is a leading service provider of polymer-based solutions for the automotive, construction and industrial sectors. Effective and advanced measurement technologies play a key role at REHAU.
Previously, conventional 3D coordinate measuring systems (CMMs) and FARO measurement arms were used or metrology tasks were outsourced to external service providers. Along with these methods, optical measurement systems are being used. Measurement arms are also not completely flexible and have several limitations in terms of volume that can be measured based on the arm size. It is also not feasible that measurement arms move in vibrating environments and also moving components cannot be measured as both the component and the arm must be fixed for precise results.
.jpg)
Measurement System Requirements
The new measurement system once obtained must be used in both fixed and variable positions for limited series measurement, prototype measurement and component measurement.
Ease of use, flexibility and mobility also played a role when it came to choosing a solution as it must be possible for measurements to be done in different departments at the plant and in different measuring environments, without affecting measurement accuracy.
REHAU found a solution in Creaform’s optical MetraSCAN 3D scanner as it provided the best price/performance ratio for the company’s specified applications as well as extremely high flexibility and mobility, according to Matthias Meiler, Prototypes and Gage Construction Team Leader at REHAU.
Measurement in the Plastics Industry
Plastic manufacturers make use of manufacturing processes such as injection molding, extrusion and the like must come to terms with physical phenomena such as shrinkage and spring-back effects that make it difficult to achieve CAD geometry. The use of 3D scans to perform comprehensive survey of the plastic parts and tools makes it possible to find out the level to which these phenomena influence the affected parts.
3D scan results offer sufficient indication of this during the repetitive tool design process. Design steps that are often repetitive and unnecessary can be prevented by closely monitoring the shape geometry and production of the relevant components. Furthermore, a 3D scan represents a valuable solution for the reverse engineering of original tools.
The MetraSCAN 3D is a handy and powerful 3D scanner that works in tandem with the C-Track optical camera system and can also be used in combination with the HandyPROBE probing measuring system as required. Unrestricted freedom of movement is offered by the 3D scanner and its measurement volume can be expanded quickly and easily without loss of precision by moving the C-Track.
Creaform’s C-Link functionality enables up to four C-Track dual camera sensors to be linked together. It is possible to use these sensors at the same time as the portable, tactile HandyPROBE coordinate measuring equipment or the MetraSCAN 3D scanner. C-Link symbolizes a mobile measuring solution that enables the setup of a virtual measurement tool at any location for rapid and easy tactile or contact-free testing of complex setups, devices, tools, or prototypes. By the integrated TRUaccuracy technology, it is possible to obtain a high degree of accuracy independent of the measurement environment (instabilities, vibrations, thermal differences) or the skill of the user.
REHAU use the MetraSCAN 3D, the HandyPROBE and a C-Track 780 for process engineering in injection molding, painting and assembly technology as well as probing and contact-free measurement of prototype components and series measurement.
Distortion Analysis of a Component Before and After Painting
One task for which Creaform measuring technology is used at REHAU is distortion analysis of a component before and after painting. The MetraSCAN 3D optical scanner scans injection-molded raw components in order to make a target or actual comparison of the data and determine if there are any deviations from predefined critical component areas before painting.
Next, painting and rescanning of the injection-molded raw components is done. Again comparison is done with the target/actual data to identify deviations in the predefined critical component areas. In the final stage, the component distortion "after painting" is compared with "before painting" and analyzed.
The component needs to be measured on a 3D coordinate measuring machine without the Creaform measuring technology. This would have needed additional images to be obtained for the component. Furthermore, the static immobilization of the component and the kinematics of the 3D coordinate measuring machine limit the measuring process, potentially resulting in higher expenditure of time and costs. Dynamic referencing of parts is made possible with the TRUaccuracy technology integrated into the Creaform systems and the MetraSCAN 3D system can be placed on the component, eliminating the need for transportation and confidentiality agreements. Another conceivable alternative would be allocating the measuring task to a service provider. However, this would also have been associated with logistical complexity and costs.
After letting go of traditional measuring technologies and their limitations, our experiences have been positive in every respect. The Creaform MetraSCAN 3D system meets our specific requirements extremely well. The scanner is easy to use, even if a degree of practice is required for larger orders. The evaluation software reports can be designed on an individual basis. Our internal clients are extremely satisfied with the quality of the measurement results and even placing follow-up orders with us.
Matthias Meiler, Prototypes and Gage Construction Team Leader at REHAU
About Creaform Inc
Creaform is a worldwide leader in 3D optical measurement technologies and products. The range of products include portable 3D scanners Portable coordinate measuring machine (CMM), robot-mounted optical CMM scanners, optical coordinate measuring systems, handyscan 3D laser scanners, pipeline integrity assessment, etc.
Creaform serves more than 2000 clients, including BMW, Rolls Royce, Cessna, Boeing, GE, Renault, Toyota, amongst others. The company has offices all around the world in all major territories.
Creaform’s mission is to develop, manufacture and market cutting edge portable 3D measurement and analysis technologies that increase productivity. Through its expertise and the passion and commitment of its employees, Creaform helps companies from the manufacturing industry to seamlessly create, simulate, verify, and collaborate in 3D, significantly enhancing their turnaround times and profitability.

This information has been sourced, reviewed and adapted from materials provided by Creaform Inc.
For more information on this source, please visit Creaform Inc.