Orton offers a variety of complementary technologies for ensuring thermal consistency, homogeneity, and reproducibility across a wide range of industrial and ceramic firing processes–from 600 °C to 1800 °C (1100 °F to 3240 °F).
Rather than relying solely on thermocouples, Orton products monitor heat work, the combined impact of time and temperature, to better depict how materials react during the firing process.
These solutions support:
- Process qualification and duplication
- Ongoing process control
- Preventive maintenance
- Quality documentation
Industries served include:
- Advanced Ceramics
- Heat Treating
- Powder Metal Sintering
- Dental Zirconia
- Brazing
- Investment Casting
- Structural Clay
- Brick
- Sanitaryware
- Tile
- Hobby
- Professional Ceramics
How Orton’s Temperature Verification Products Fit Together
Source: Orton Ceramic Foundation
| Product |
Primary Function |
Best For |
Measurement Method |
| TempCHEK |
Thermal process verification in ceramic-based processes |
Kilns and ceramic ware loads |
Shrinkage → Heat work equivalent |
| TempTAB |
Furnace uniformity & repeatability in metal and mixed atmospheres |
Sintering, brazing, heat treating |
Shrinkage → Heat work equivalent |
| Pyrometric Cones |
Visual heat work confirmation |
Ceramic firing verification |
Controlled deformation |
Although each device is tailored for various materials, working styles, and atmospheres, they all tackle the same fundamental issue–verifying heat work.
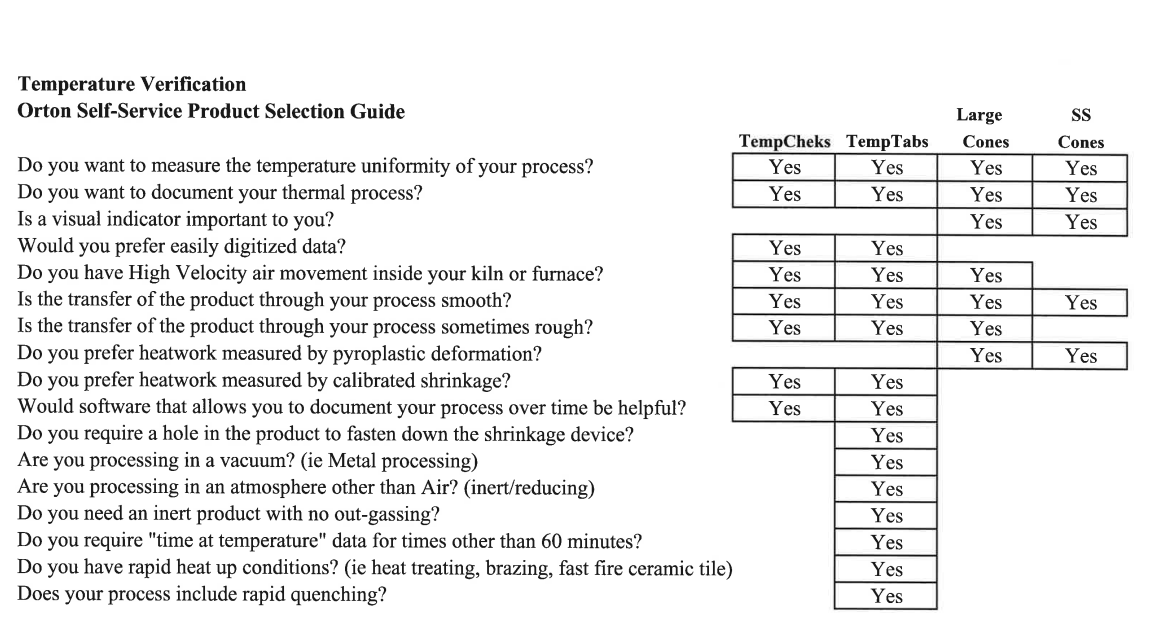
Image Credit: Orton Ceramic Foundation
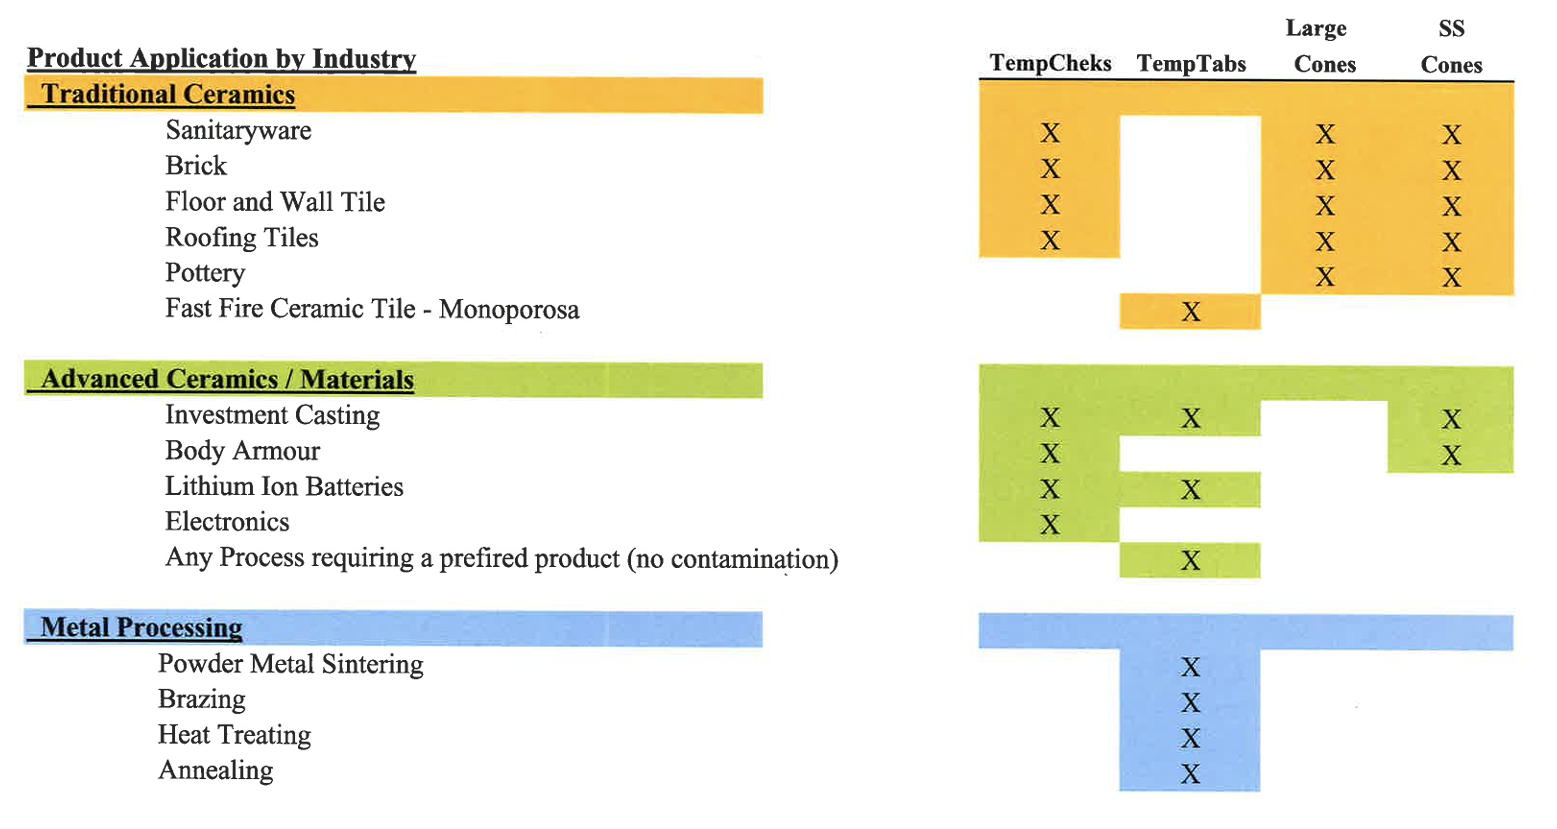
Image Credit: Orton Ceramic Foundation
What is a TempCHEK?
A quality-control tool called TempCHEK will confirm the heat work (the impact of temperature and time) within the kiln or furnace.
TempCHEKs are made from consistently mixed and processed ingredients, carefully chosen for optimum shrinkage. To minimize shrinkage, material blends are spray dried and pressed to precise dimensions and density.
TempCHEK Temperature Ranges
- Low Temp (LTS): 850 °C – 1100 °C
- Medium Temp (MTS): 950 °C – 1100 °C
- High Temp (HTS): 1075 °C – 1420 °C
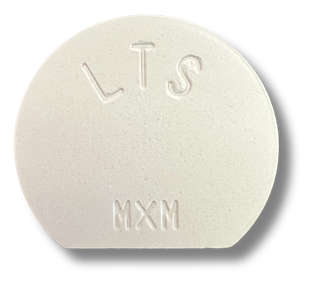
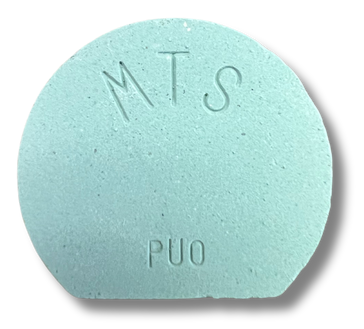
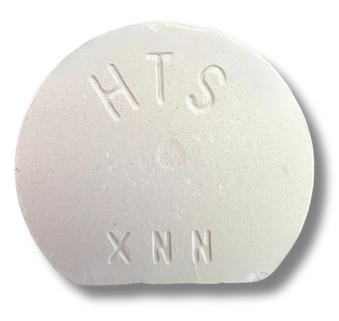
Image Credit: Orton Ceramic Foundation
Features and Uses
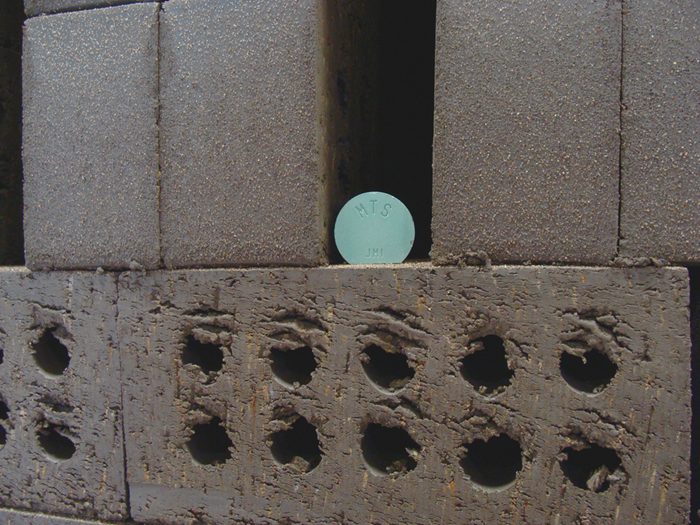
Image Credit: Orton Ceramic Foundation
- Technical/Advanced Ceramics
- Brick Industry
- Sanitary/White Ware
- Refactories
- Verify Temperature Uniformity
- Monitor 850 – 1420 °C
- Aerospace/Investment Casting Cores
The Benefits of Using TempCHECK
TempCHEK provides daily control over the firing process. By logging daily findings, users can generate a database of the furnace's thermal history and identify potential patterns before they harm the ware. TempCHEK data can be simply loaded into SPC software to generate X and R bar control charts.
How Many Should Users Use?
Choose an array that best fits the process. To fire a product, an array of 9 TempCHEKs is often placed at the top, center, and bottom. To ensure consistency, set the TempCHEKs in the same area for each firing.
Source: Orton Ceramic Foundation
| Dimension mm |
Temperature for 60 Minute hold Degrees C |
| 26.12 |
1600.0 |
| 26.13 |
1599.0 |
| 26.14 |
1598.0 |
| 26.15 |
1597.0 |
| 26.16 |
1596.0 |
| 26.17 |
1594.9 |
| 26.18 |
1593.9 |
| 26.19 |
1592.9 |
| 26.20 |
1591.9 |
| 26.21 |
1590.9 |
| 26.22 |
1589.9 |
| 26.23 |
1588.9 |
| 26.24 |
1587.9 |
| 26.25 |
1586.9 |
| 26.26 |
1585.9 |
| 26.27 |
1584.8 |
| 26.28 |
1583.8 |
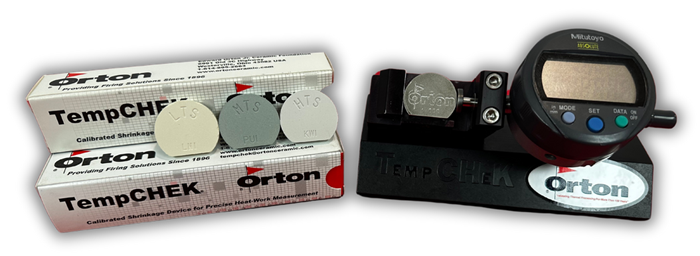
Image Credit: Orton Ceramic Foundation
How to Use TempCHEKs
Using TempCHEK is easy. Remove the TempCHEK from its sleeve and place it throughout the kiln. Each TempCHEK has a batch code and product type imprinted on its face. No measurements are required before use. Set the TempCHEK upright on end or flat. Use a high-temperature marker to write an identification code on each scribe for future identification.
After firing, remove the designated pieces and measure their shrinkage. Measure each piece’s diameter to the closest 0.01 mm using the Orton Measuring Gauge or a digital caliper with the same precision. Ensure consistent measurements for each piece. Variation of +0.01 mm is usual, but can be reduced with proper technique.
To find the comparable temperature for each TempCHEK batch, consult the batch-specific data. Alternatively, use the TempTrakker software to automatically display the temperature on an SCP chart. Use the table to find the corresponding temperature for the fired TempCHEK. Find the mm reading for the fired width and choose the temperature closest to it. Evaluate thermal uniformity and consistency.
What is a TempTAB?
A temperature measurement tool called TempTAB is composed of materials that respond to heatwork, which is the result of both temperature and time. A TempTAB experiences significant shrinkage when it is fired in a furnace. To translate such shrinkage into a similar sintering temperature, Orton has created accurate data tables.
TempTAB Temperature Ranges
- TempTAB 300 850 – 1100 °C
- TempTAB 400 1000 – 1200 °C
- TempTAВ 600 1100 – 1300 °C
- TempTAВ 650 1200 – 1500 °C
- TempTAВ 700 1450 – 1750 °C
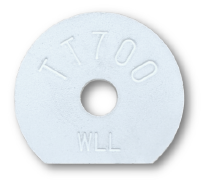
Image Credit: Orton Ceramic Foundation
Features and Uses
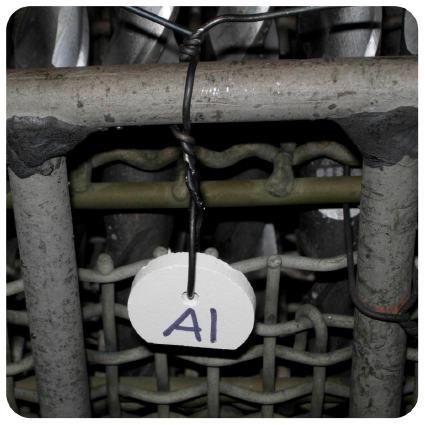
Image Credit: Orton Ceramic Foundation
- Pretreated to eliminate outgassing
- Monitor 850 – 1750 °C
- Usable in air, vacuum, and non-oxidizing environments
- Measure temperature uniformity
- Brazing, sintering, annealing
- Heat treat processes
- Software included
Why Should Users Use TempTAВ?
TempTAB, when used on a regular basis, helps improve firing process control. By logging daily findings, users can create a database of the furnace's thermal history and identify potential patterns before they destroy the ware. They could be employed in air, vacuum, and non-oxidizing environments. TempTABs are processed to eliminate organics, preventing outgassing and contamination during fire.
How Many Should Users Use?
Selecting an array that will work for the workflow is the best option. Usually, nine TempTABs are utilized in an array, with the TempTABs positioned at the top, bottom, and middle of the product that will be fired. For every firing, it is crucial to position the TempTABs almost exactly in the same spot.
Source: Orton Ceramic Foundation
| Dimension mm |
Temperature for 120 Minute hold Degrees C |
| 26.12 |
1600.0 |
| 26.13 |
1599.0 |
| 26.14 |
1598.0 |
| 26.15 |
1597.0 |
| 26.16 |
1596.0 |
| 26.17 |
1594.9 |
| 26.18 |
1593.9 |
| 26.19 |
1592.9 |
| 26.20 |
1591.9 |
| 26.21 |
1590.9 |
| 26.22 |
1589.9 |
| 26.23 |
1588.9 |
| 26.24 |
1587.9 |
| 26.25 |
1586.9 |
| 26.26 |
1585.9 |
| 26.27 |
1584.8 |
| 26.28 |
1583.8 |
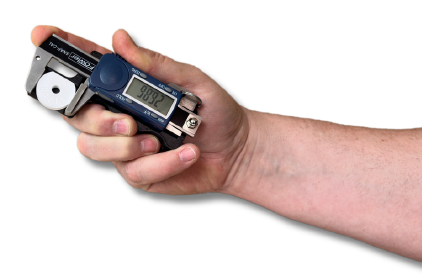
Image Credit: Orton Ceramic Foundation
How to Use TempTABs
TempTAB is easy to use. Take the TempTAB out of the sleeve and distribute it across the kiln. Each TempTAB’s face is branded with the product type and batch code. Before usage, no measurements are required. The TempTAB can be placed flat, suspended, or standing on end. For future identification, write an identification code on each one using a high-temperature marker.
Measure the shrinkage and take out the designated pieces after firing. Record each piece’s diameter to the closest 0.01 mm using the Orton Measuring Gauge or a digital caliper with a 0.01 mm measurement precision. It is critical to measure every component consistently. Although a +0.01 mm variation is common, it can be reduced with proper technique.
Use the TempTrakker software to automatically find and plot the temperature in an SCP chart, or look up the equivalent temperature using the tables made especially for each TempTAB batch. To find the corresponding temperature for the fired TempTAB, use the appropriate hold time. Choose the temperature that is closest to the mm reading for the fired width. Compare the thermal consistency and uniformity values.